> ## Documentation Index
> Fetch the complete documentation index at: https://krisper.tryx.space/llms.txt
> Use this file to discover all available pages before exploring further.
# Product Catalog
> Add the products your business uses or sells, and organize them into categories.
Every physical product your business works with — something you sell to a customer, or something you use up while performing a service — starts here, in the **Product Catalog**.
You need an active Krisper account to view or manage the Product Catalog. If you don't see **Operations → Product Catalog** in your sidebar, contact your account administrator.
## Two ways a product is used
Example: a **Hair Color** service uses **10 ml** from a color tube. Add the tube as a product, then assign it to the service so its stock reduces automatically every time the service is performed.
Example: a salon sells a **shampoo bottle** straight to a customer, with no service involved. The same product entry supports this too — nothing extra to set up.
Either way, the product is added to the catalog the same way — what differs is only what you *do* with it afterward: assign it to a service, or sell it directly.
## Step 1 — Go to Product Catalog
In the left-hand sidebar, click **Operations**, then select **Product Catalog**. This opens the list of every product added so far, with its SKU, category, unit of measure, and commission. Use the search bar or the category filter, with **Reset** / **Apply**, to narrow the list down.
## Step 2 — Set up categories (optional but recommended)
Categories keep the catalog organized once you have more than a handful of products — for example "Drinks", "Hair Color", or "Retail".
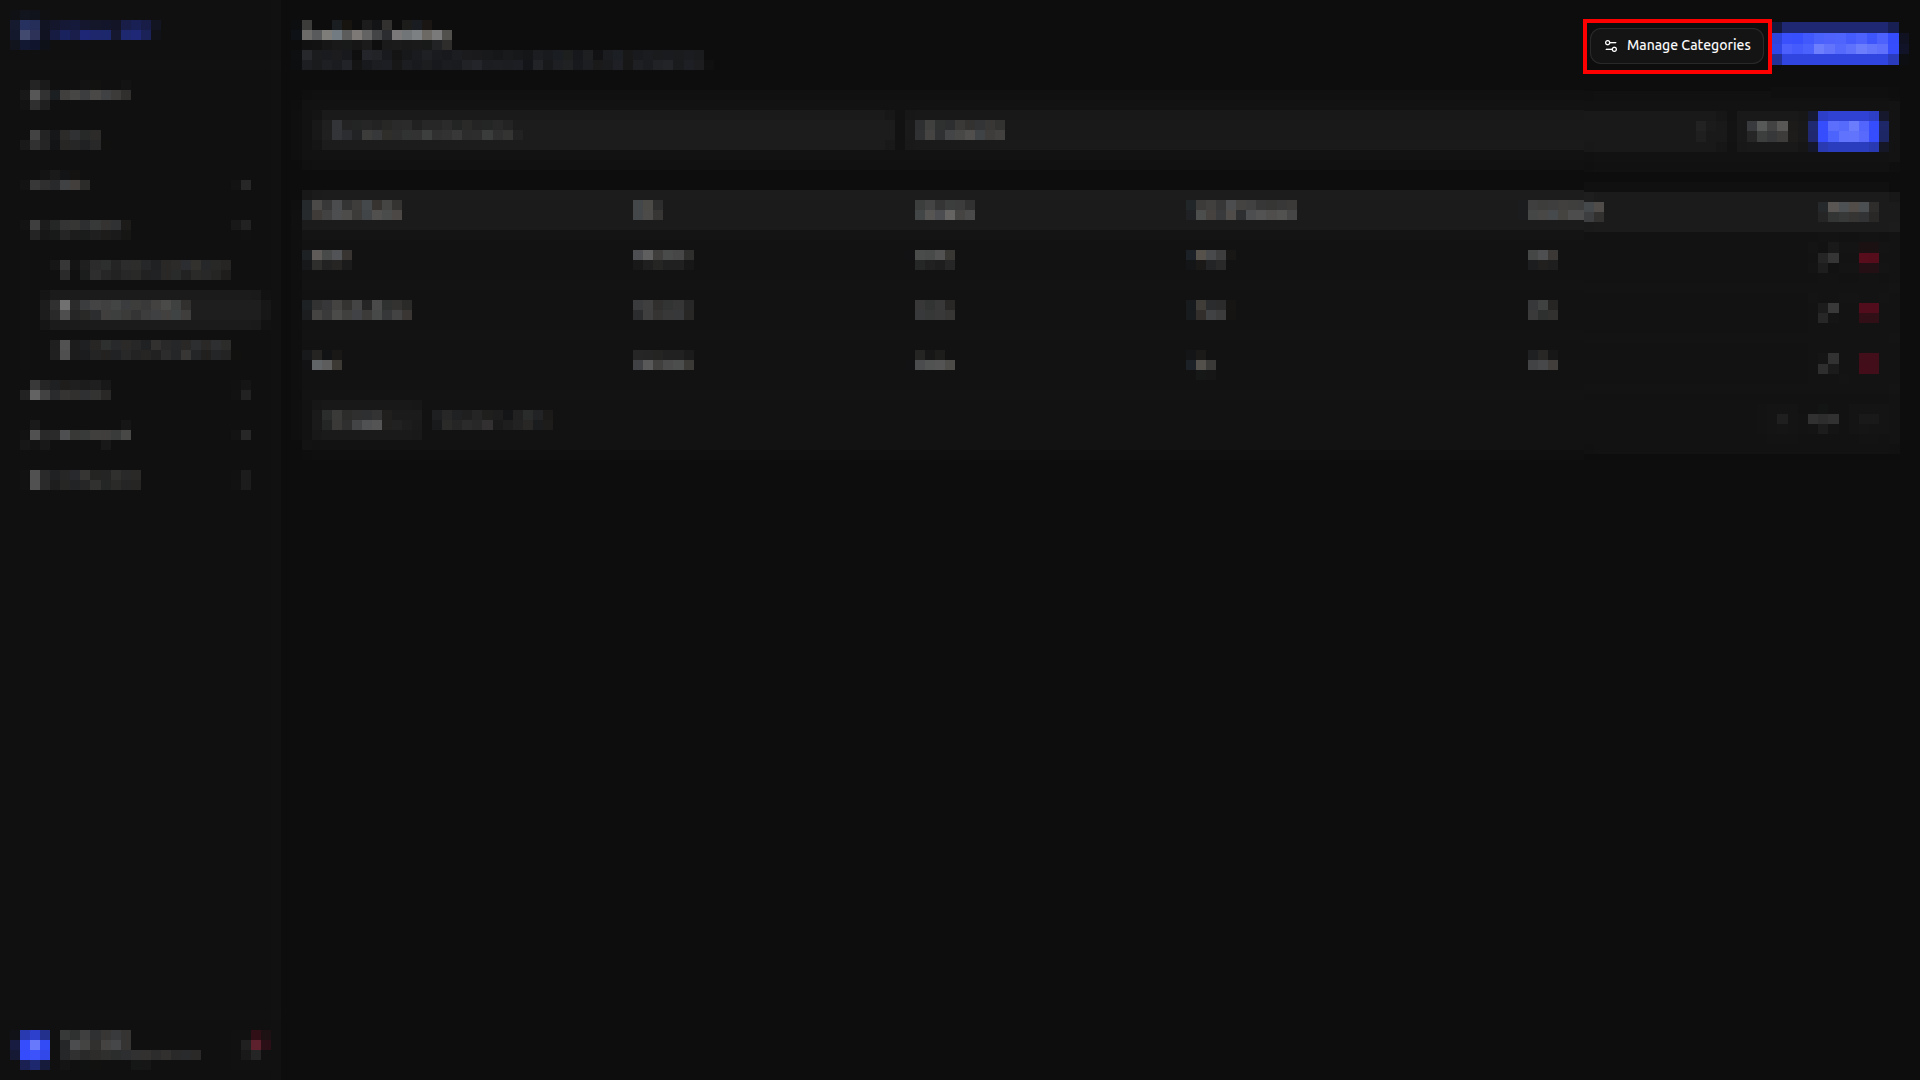
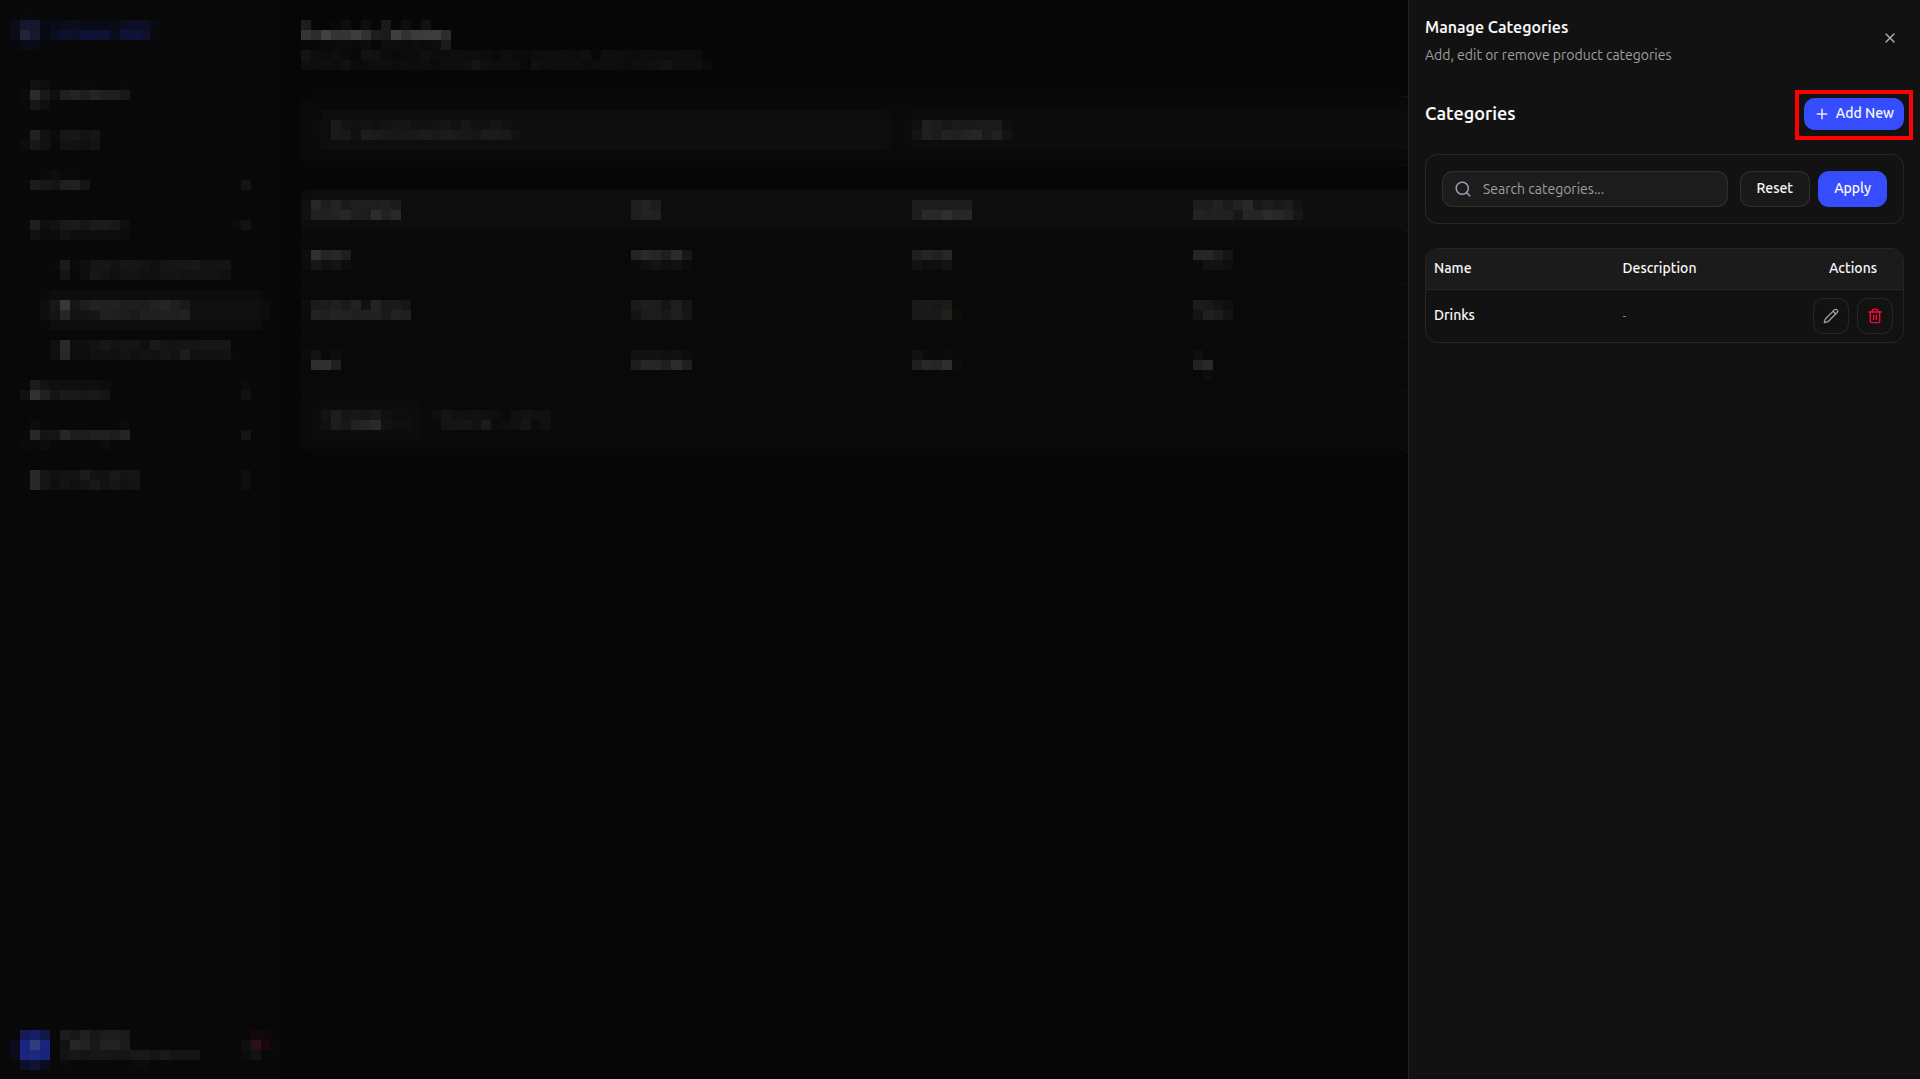
In the top-right of the Product Catalog page, click **Manage Categories**. A panel slides in from the right, listing every category added so far — its name, description, and edit/delete actions. Use the search bar, or **Reset** / **Apply**, to filter the list.
 In the top-right of the panel, click **+ Add New** to open the form for creating a category.
 Set up your categories before adding products in bulk — it's easier to pick an existing category while adding a product than to re-categorize everything later.
## Step 3 — Add a product
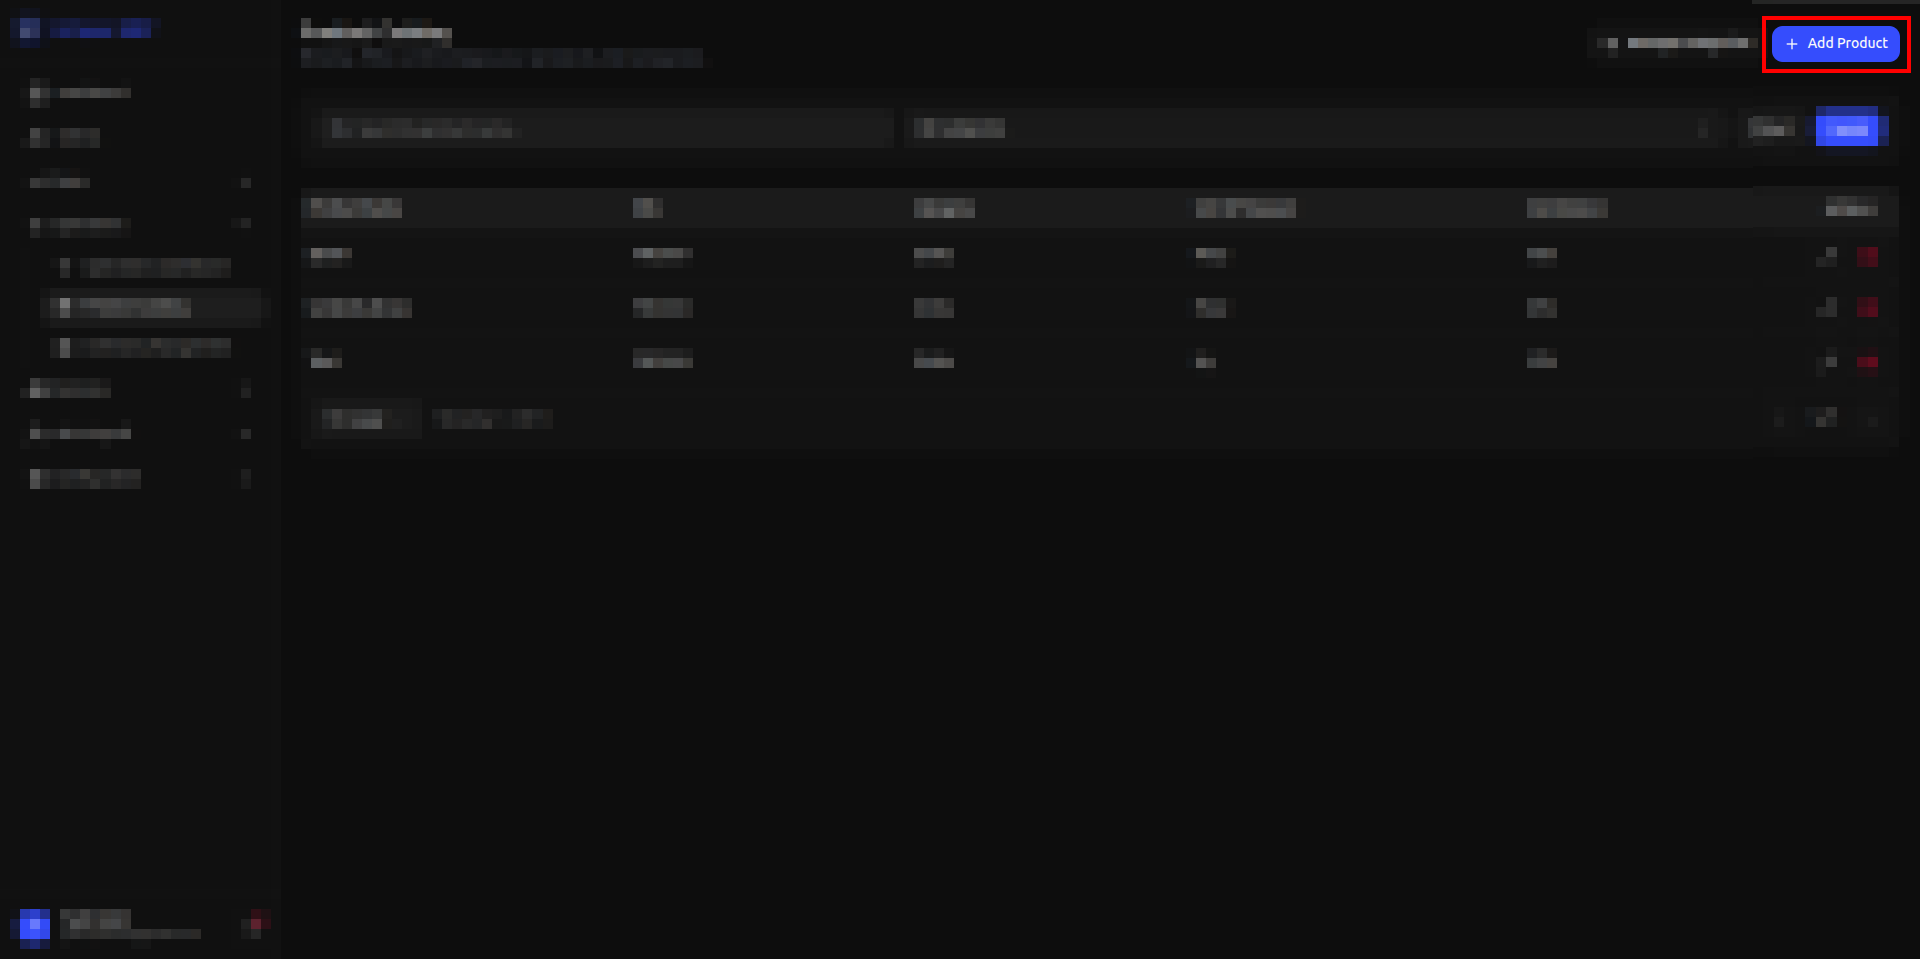
Click **+ Add Product** in the top-right corner. A form opens where you enter the product's details.
Set up your categories before adding products in bulk — it's easier to pick an existing category while adding a product than to re-categorize everything later.
## Step 3 — Add a product
Click **+ Add Product** in the top-right corner. A form opens where you enter the product's details.
 | Field | What to enter |
| ------------------- | :-------------------------------------------------------------------------------- |
| **Product Name** | The name shown across the catalog, inventory, and billing — e.g. "Umbrella Strow" |
| **Category** | Pick from the categories set up in Step 2 |
| **Unit of Measure** | How this product is tracked and sold, e.g. Piece, Kg |
| **Commission** | The percentage a staff member earns when this product is sold |
| **SKU** | A unique code for the product, assigned automatically when it's created |
The fields above are based on what's visible in the Product Catalog list — confirm against the live Add Product form so this table can be finalized with exact required/optional markers.
Save the form to add the product to the catalog. It now appears in the product list, and is immediately available to assign to a service or sell directly.
## Managing products after creation
From the Product Catalog list, each product has quick actions:
* **Edit** (pencil icon) — reopens the same form, pre-filled, so you can update any field.
* **Delete** (trash icon) — permanently removes the product from the catalog.
Deleting a product does not automatically remove it from services it's assigned to, or from existing inventory records — check those first if the product is actively in use.
## Commission visibility
The **Commission** column only appears if commission tracking is turned on in your account's settings. If it's turned off, the column — and the field on the Add Product form — won't show at all.
## Common scenarios
* **A salon adds a new hair color shade** — added once as a product, then assigned to the relevant service so stock is deducted automatically per use.
* **A shop starts selling bottled drinks at the counter** — added as a product and sold directly to walk-in customers, with no service attached.
* **Tracking how much stock is left** — once a product exists here, its stock levels and usage are tracked in **Inventory Management**.
| Field | What to enter |
| ------------------- | :-------------------------------------------------------------------------------- |
| **Product Name** | The name shown across the catalog, inventory, and billing — e.g. "Umbrella Strow" |
| **Category** | Pick from the categories set up in Step 2 |
| **Unit of Measure** | How this product is tracked and sold, e.g. Piece, Kg |
| **Commission** | The percentage a staff member earns when this product is sold |
| **SKU** | A unique code for the product, assigned automatically when it's created |
The fields above are based on what's visible in the Product Catalog list — confirm against the live Add Product form so this table can be finalized with exact required/optional markers.
Save the form to add the product to the catalog. It now appears in the product list, and is immediately available to assign to a service or sell directly.
## Managing products after creation
From the Product Catalog list, each product has quick actions:
* **Edit** (pencil icon) — reopens the same form, pre-filled, so you can update any field.
* **Delete** (trash icon) — permanently removes the product from the catalog.
Deleting a product does not automatically remove it from services it's assigned to, or from existing inventory records — check those first if the product is actively in use.
## Commission visibility
The **Commission** column only appears if commission tracking is turned on in your account's settings. If it's turned off, the column — and the field on the Add Product form — won't show at all.
## Common scenarios
* **A salon adds a new hair color shade** — added once as a product, then assigned to the relevant service so stock is deducted automatically per use.
* **A shop starts selling bottled drinks at the counter** — added as a product and sold directly to walk-in customers, with no service attached.
* **Tracking how much stock is left** — once a product exists here, its stock levels and usage are tracked in **Inventory Management**.